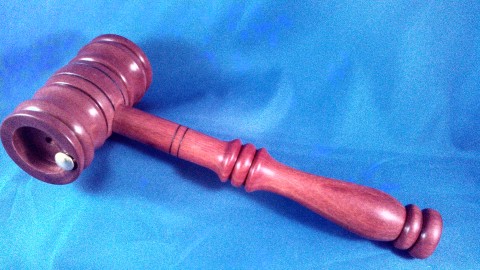
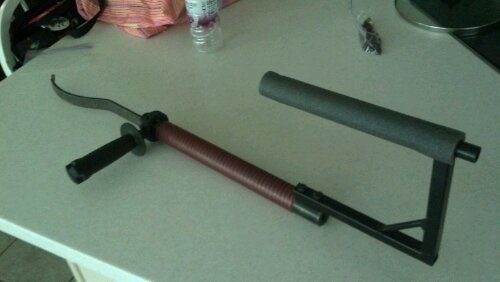
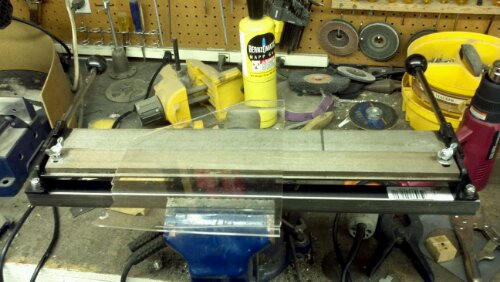
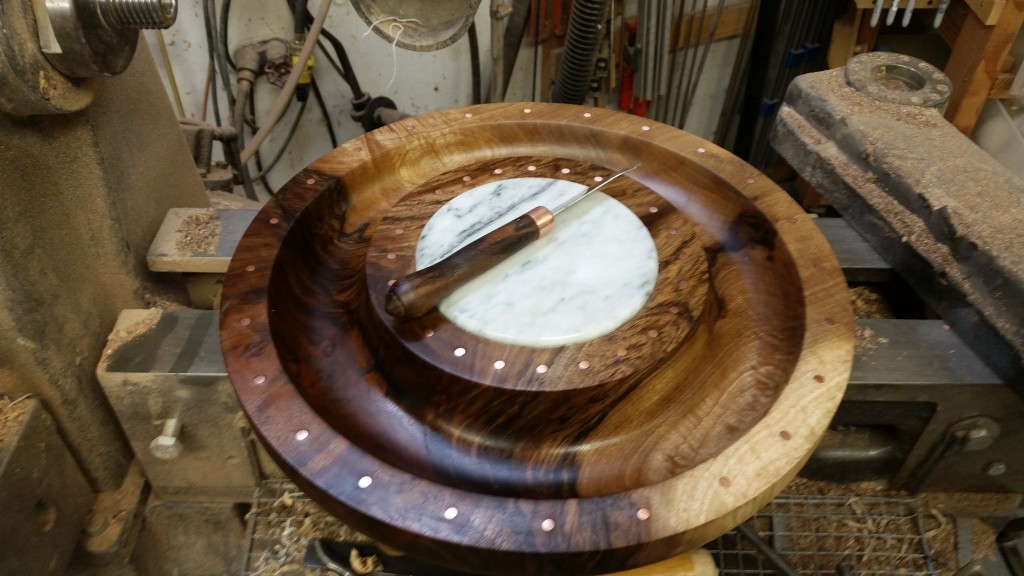
Music Box for Mom

Posted on May 3, 2008

You probably know by now that I am enamored with modeling woodturning in 3D!

I decided to challenge myself and my turning skills by defining a tough project for a good cause …. my mother :)

Design summary

This project required a great deal of design and planning. Not only did it need to look good but it also needed to be functional. The knob on the top is used to wind the music box and the lid rotates with the music. This feature meant that the music box needed to fit perfectly inside the box dead on center. The top had to be turned with the exact dimensions so that it would rotate without interference with the base and mate correctly with the music box drive shaft. The lid had to be removable, dictating the use of a coupler that needed to be the correct depth so as to engage, without binding, the music box key.

The model perfectly defined all the interior parts. All I had to do was turn them properly :)

Well the project is complete and as usual it was fun and educational.

A video can be enjoyed at the tunredoutright video channel

Music Box Model I started this project in February. The previous post provides more details on my sources of inspiration etc.

“Woodturning with Sketchup” will provide details on the modeling aspects of this project.

A book is available dedicated to using SketchUp for modeling.

Below outlines the process and methods used to turn the music box:

Redwood burl blanks Wood selection: Three pieces of Redwood Burl were chosen all about 5×5x3. The model helped me select the correct sizes. Without a plan it is easy to get blanks that aren’t thick enough.

Two were for the base and top. The third was cut up for the finial and other parts.

A chuck mounted screw center was used to mount the blanks. Insure that the blank screws tight against the face of the chucks jaws.
Throughout turning, the story stick (printed full scale from the model) was used to guide the turning. It was as easy as laying the caliper on the paper and adjusting to the print. Show here is a 2D (left) and a 3D type of story stick.
A dove tail that matched my stronghold jaws was turned. Since Redwood is so soft, insure that the jaws fit perfectly, getting the most surface contact possible. The face of the jaws (not the back) need a solid and flat mating surface.

Turn the base round.

Shape the exterior and interior of the base using the story stick as a guide.

Sand to 400 grit, finishing the base.

Part the base off and make a jam chuck from the waste, that fits the perimeter of the bases lip.

Finish the bottom with the tail stock brought up for support.

Turn the top to round using the same work holding techniques show above.

Drill the center to 1/2″ and turn the underside of the lid to finished internal dimensions.

Not shown: Size and part of off the lid.

I used a 1/2 bolt with the head cut off in a collet chuck for holding the lid.

Mount the lid with the top surface toward the tail stock.

Turn and finish the lids outer features

The lid with the features turned and final sanding to 400 grit
Turn the finial from a block of burl to the story stick dimensions.
The next section will be focussed on the surface treatment of the lid. The lid seemed plain to me, so I decided some carving was in order. I set out to chip carve the surface but Redwood burl doesn’t really chip carve that well. (I tried it on a piece of scrap). I decided to wood burn the detail instead.

In either case I needed a pattern. SketchUp proved its versatility and I used it to design a scale pattern. This was challenging because the pattern had to fit inside the inner ring and still provide a balanced appearance. It was quite easy to do!

The pattern was taped in place and traced after which the surface was “burned”… Sweet!
A coupler was constructed of a ring that would mount on the finials shaft.

A slot was routed in the coupler to accept the key of the music box. (I suggest unlike this picture you put it in a vice for safer operation).The thickness of this coupler was adjusted to give perfect elevation of the top above the base while rotateing.

This coupler will be glued on the finials shaft at assembly.

Now it gets complicated. The music box has to be precisely positioned and mounted in the center of the box.

To accomplish this a jig consisting of peice of 1/4″ fiber board was mounted on a waste block and turned to fit inside the base. Before removing it from the lathe a hole the size of the key was drilled on center.

The music box was painted and glued (CA) in place using this jig.

The final assembly note the redwood veneer on the surface of the music box. The plastic was ugly.
Don’t forget to sign it!

More Modeling posts on the Music Box:

Enjoy…. Donnie


Don’t forget to visit the store where you will find some interesting books on wood turning!

» Filed Under Hollow Forms | Leave a Comment

Photo lighting

Posted on April 16, 2008

In wood turning we often need to take photo of our end products.

I found this photo lighting video on Utube very useful.

Prophotolife.com

Donnie

» Filed Under Photography | Leave a Comment

SketchUp Recognizes Woodturning

Posted on April 14, 2008

This week we got an awesome mention in the SketchUp blog.

This is great exposure toward the advancement of “3D Woodturning Modeling”.


“I was just alerted to the presence of a really neat blog about using SketchUp for woodturning. It’s called Turnedoutright, and it’s worth a look — even if you’re not a woodturner yourself. The SketchUp models are outstanding.”

Thanks to Aidan Chopra


The Music box is completed, watch for final post on the project.

You can get a copy of the “Woodturning with SketchUp” @ the turnedoutright store.

» Filed Under Site | Leave a Comment

NAF flute is complete

Posted on April 11, 2008

Flute 1

The flute I started many moons ago is finally complete.

More technical details are at The Pied Piper Visits the Shop!

This flute is unique in the following ways:

  • It is made almost totally on the lathe!
  • It has a +30 inch drilled cylinder. It is not assembled from two halves like most flutes
  • It is a “D” flute so it has a deep and hollow sound!
  • It is make of three pieces turned and then glued together!
  • Its my first wood flute!

The wood is poplar (this was experimental), the finish is polyurethane.
Some other photos up close:

dsc00860-small.JPGdsc00863-small.JPGdsc00859-small.JPG

Dennis thanks for your help!

Now I am gong to make a small wood flute with similar techniques.

Enjoy…. Donnie


Don’t forget to visit the store where you will find some interesting books on wood turning!

» Filed Under Flutes | Leave a Comment

Tax returns? Stubby gets an extension

Posted on April 1, 2008

Stubby extension

Seems like this was timely. Just as all of us are thinking about taxes and some of us are getting extensions I did the same to my stubby :).

My Canadian turning cohort found us a couple of used stubby beds. Since the stubby beds are short they can be connected to make endless extensions. This gives me 52″ of capacity if I don’t pull the bed out. With the bed out it gives me another 16″.

Enjoy…. Donnie


Don’t forget to visit the store where you will find some interesting books on wood turning!

» Filed Under Tools | Leave a Comment

More shop made tools

Posted on March 27, 2008

Here I go again, I just can’t stay away from homemade tools.

Chuck organizer

Chuck Organizer

I have four chucks and I hate changing the Jaws. One reason is because I have to search around the shop for the tools, screws and the right jaws for the right chuck. Ya I know, my wife says that my problem is that I “have to many tools” … lets don’t go there!

The organizer above holds the jaws for all my chucks, the fasteners, the tools and the screw centers.

Filter

Fine Filter

I know that shop air filtering is a necessity, I also know that their are lots of opinions on what works and what doesn’t. I did some research and was ready to drop $300 for a professional filter. Then after looking at the specifications and the size I concluded that even the smallest are to large for my shop. I also investigated getting a used furnace squirrel cage fan and building my own. But finally I went to Wallmart and bought a box fan and fine furnace filter, total cost $25. It has been hanging in my door way attached to an X10 remote controller. After only one weekend the filter has gone from white to yellow… something must be working. I’ll let you know how it works out. BTW I still wear a mask and use my vacuum when sanding.

Stubby Tray

Stubby Tool Tray

When turning I never seem to find a good place to lay my tools. I have built all kinds of racks that sit next to the lathe but I always seem to lay the most recently used tools on the ways. Then this weekend it dawned on me that a simple tray like Jet sells might work. Bingo, some wire mesh, quarter inch rod, two washers and a welder; yielded a simple tray for my Stubby. We’ll see if the tray replaces the ways as a resting place.

Enjoy…. Donnie


Don’t forget to visit the store where you will find some interesting books on wood turning!

» Filed Under Tools | 2 Comments

Heat Treating

Posted on March 24, 2008

I have made my own tools nearly since I started woodturning.

Recently I read, what I think is the best article on tool making, at Woodturning Online, entitled “Woodturning Chisels You Can Make”. I especially like the color pictures that the author provided for tempering.

I struggled for some time to get this process right, simply because I didn’t perceive the color “straw” correctly and I didn’t polish the tools so I could see the color change. I highly recommend this article even if you are not going to make your own tools.

This article prompted me to post pictures of the setup I use for hardening tools.

I recently bought a double ended tool and was having difficulty in getting and keeping it sharp. It dawned on me that perhaps the tools wasn’t hardened properly. So I annealed it again followed by hardening and tempering. The process I used is in the article referenced above.

BTW, the tool now cuts like butter :)

This is the basic setup.The can is my forge and helps me concentrate the heat and not burn down the shop.LLarger cross section tools must stay in the heat for 3-10 minutes so having a way to hold the tool is desirable. Tempering1
A close up of the forge showing the MAP torch through a hole in bottom.The wire tray makes a place to lay the tool being heated. Tempering 2
The tool after heating to cherry red, and then quenching in water. I mostly use W2 water hardened steel from McMaster-Carr. Tempering 3
In order to see the subtle change in color when tempering, polishing the tool to a bright finish is necessary. I found that a brass wire brush on my angle grinder works best. Temper 4
The tool after tempering, notice the bands of color. The key is to get the “straw” color at the edge of the tool.When heating the tool use a lower setting than when you did for hardening. The tool will start to heat and then it will quickly progress from no color through straw and into blue. Once the tool starts to heat back off the tool and heat very slowly. If you aren’t cautious the thermal inertia will cause the tip to overheat and go right to blue.I backed off just in time, notice the blue, it was about ready to overheat Temper5
A better example of an even “Straw” color along the tip. This tempering helps to make the tool less brittle (from the hardening process) so that it will keep an edge. Temper6

» Filed Under Tools | Leave a Comment

Tool Cart

Posted on March 17, 2008

Ever get frustrated by the distraction of misplacing tools while you are turning a complex piece?

This happened to me again while turning the “Music Box“. (The model for the Music box)

So I took a “time out” and built a tool cart.

I keep this cart next to my lathe and everything has a hole or a drawer. It rolls back out of the way when I am not turning.

Cart1Cart2Cart3
I used plastic drawers from a Wallmart cart [I hate making drawers] with the side benefit that you can see into them.
I found that “crystal light” containers fit sanding disks perfectly!

» Filed Under Tools | Leave a Comment

New Video Channel!

Posted on March 8, 2008

Turnedoutright is now setup on a YouTube channel.

Go to the TURNEDOUTRIGHT Video Channel to subscribe to videos from the shop.

Donny png

» Filed Under Site | Leave a Comment

From the scrap bin!

Posted on March 3, 2008

Russian olive

Russian olive

Sometimes you just have to relax and turn from the scrap bin.

I thought I would try a small end grain natural edge with no sanding and an oil finish.

I found a piece of Russian Olive in the drying barrel!


Donnie

Don’t forget to visit the store where you will find some interesting books on wood turning!

» Filed Under Hollow Forms | 2 Comments

keep looking »