Adding “burnings” as surface treatment to a piece is an easy and effective way to embellish a project, turning it into a work of art. As a minimum, I like to sign my turnings with a burned figure, date and wood type.
As I experiment with pyrography I have found that my taste in burn heat is higher than most wood burners and pens tolerate.
A friend turned me on to the “Priddle” style wood turning system, I used this as a starting point for the one that I built.
The “Priddle” article does a nice job of describing the necessary parts and procedures to build the base unit, so I will not repeat them. I was able to procure all the parts. Of importance is the selection of the battery charger and the burning wire gauge.
I found nicrome wire @ Jacobs Online and choose 18 ga (NW18008).
Next I looked up the autoignition temperature for wood which is between 500 & 900 deg F. These values are clearly more than one might need for simple burning but the name of this device is “Flame Thrower” and I did not want to under design this new toy.
Next I went back to the Jacobs site and checked the Temperature-Current table and found that 10A would provide heat temperatures of 1000 deg F using 18ga wire. 10A became my goal for the battery chargers top current.
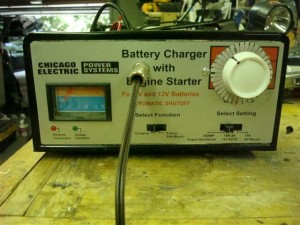
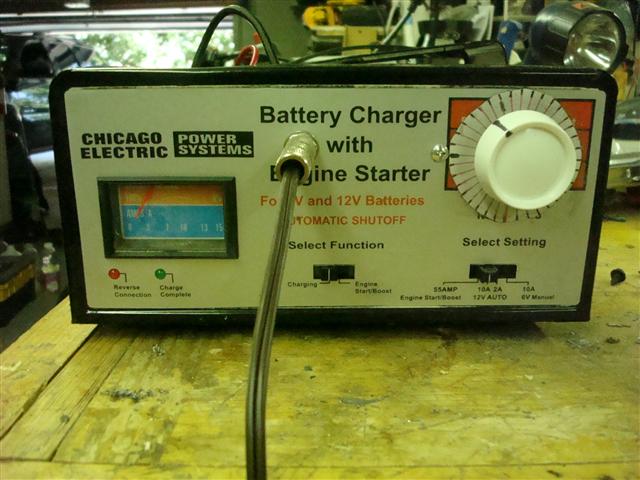
I was lucky that I had an old HF battery charger that I could modify that had a winding with 10- 50A capacities. Note to readers, you do not need or want 50A, believe me I tried it…. I have recently seen a different version of this battery charger in HF for under $40.
As the “Priddle” plans show, an electronic dimmer switch is used in series with the primary to adjust the output current of the burner. I found this control method to be sufficient but lacking in granularity. I will investigate a switching power control method later on.
I modified and mounted the elements as shown in the photos. One important mod was the removal of the charging control circuit. You do not want any current limiting or control on the output of the transformer in this application. Luckily on this unit it was modular and could be removed and wired around easily. I would provide more detail but every battery charger that has charging control will need a unique set of modifications.
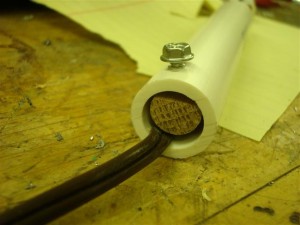
I built the pen generally using the Priddle approach. As you can see in the photo I used PVC instead of wood with a substantial stain relief in the handles butt. The copper wires that connected the handle to the burning wire terminals were bent into ripples to help remove heat. I made this change during testing.
This burner provides plenty of burn capacity and can light almost any wood species on fire. In fact in some types of wood it will simply vaporize the surface (not that useful, but fun to watch). The corrugated copper connections and PVC handle provide excellent heat isolation. At very high temperatures my hands were very comfortable and the terminals did not melt.
Make sure you use heavy duty lamp cord for the pen connection to the unit to minimize the wire heating.
I am using this in my shop for on-the-lathe surface treatment for high heat applications. I plan to keep experimenting with the use of purchased tips (more choice of shapes) and a smaller handle. I am also considering designing a more modern power supply with a larger range and granularity than most available over the counter. I imagine a digital control with automatic electronic shading adjustments.
Pictures are below, so enjoy!


