
I have made my own tools nearly since I started woodturning.
Recently I read, what I think is the best article on tool making, at Woodturning Online, entitled “Woodturning Chisels You Can Make”. I especially like the color pictures that the author provided for tempering.
I struggled for some time to get this process right, simply because I didn’t perceive the color “straw” correctly and I didn’t polish the tools so I could see the color change. I highly recommend this article even if you are not going to make your own tools.
This article prompted me to post pictures of the setup I use for hardening tools.
I recently bought a double ended tool and was having difficulty in getting and keeping it sharp. It dawned on me that perhaps the tools wasn’t hardened properly. So I annealed it again followed by hardening and tempering. The process I used is in the article referenced above.
BTW, the tool now cuts like butter 🙂
| This is the basic setup.The can is my forge and helps me concentrate the heat and not burn down the shop.LLarger cross section tools must stay in the heat for 3-10 minutes so having a way to hold the tool is desirable. | 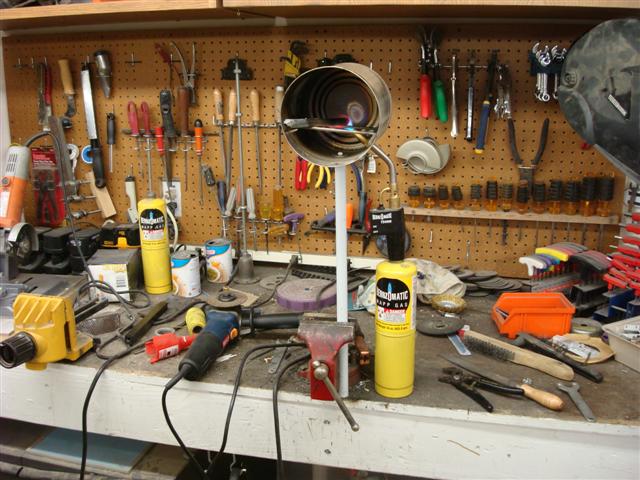 |
| A close up of the forge showing the MAP torch through a hole in bottom.The wire tray makes a place to lay the tool being heated. | 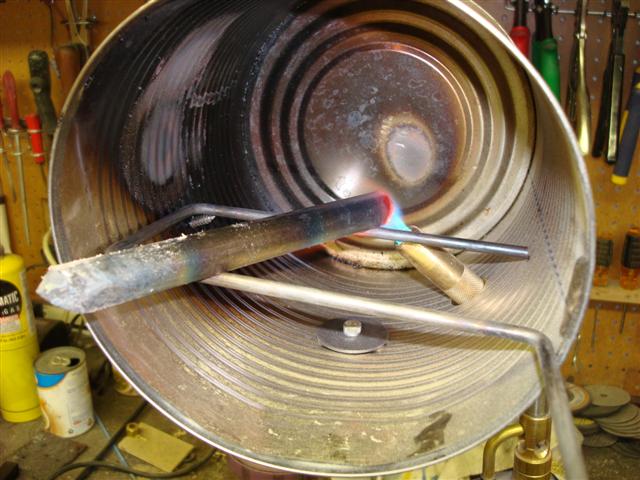 |
| The tool after heating to cherry red, and then quenching in water. I mostly use W2 water hardened steel from McMaster-Carr. | 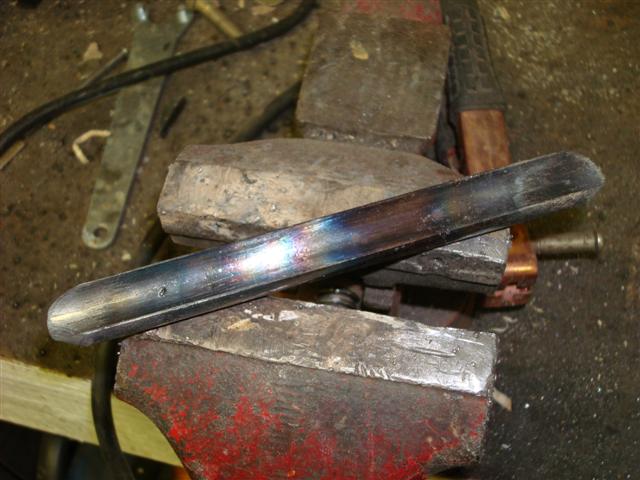 |
| In order to see the subtle change in color when tempering, polishing the tool to a bright finish is necessary. I found that a brass wire brush on my angle grinder works best. | 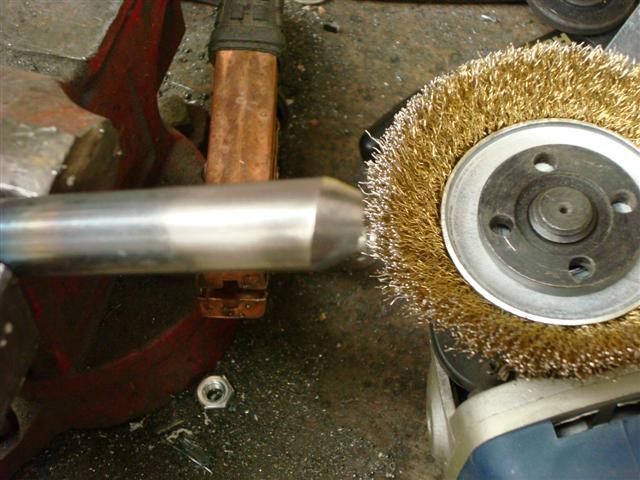 |
| The tool after tempering, notice the bands of color. The key is to get the “straw” color at the edge of the tool.When heating the tool use a lower setting than when you did for hardening. The tool will start to heat and then it will quickly progress from no color through straw and into blue. Once the tool starts to heat back off the tool and heat very slowly. If you aren’t cautious the thermal inertia will cause the tip to overheat and go right to blue.I backed off just in time, notice the blue, it was about ready to overheat | 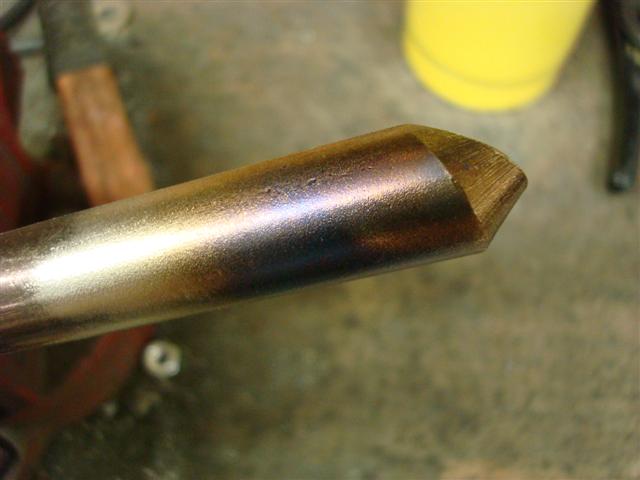 |
| A better example of an even “Straw” color along the tip. This tempering helps to make the tool less brittle (from the hardening process) so that it will keep an edge. | 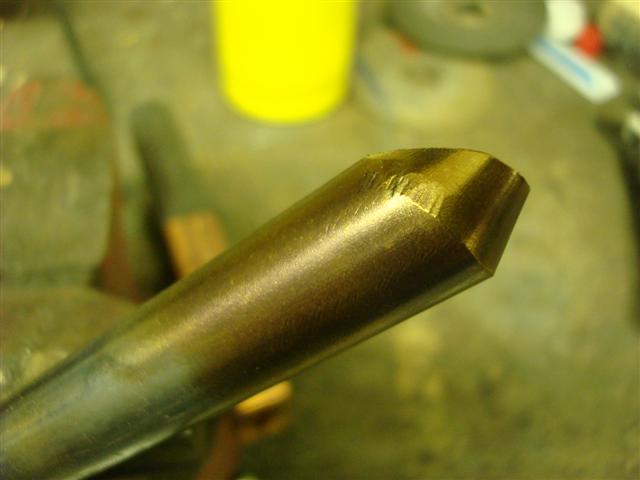 |
Don nice blog. But I had to give up reading it. Problem is you’ve go sooo much info I want to read it all.
Here’s the problem; When clicking the back button after viewing a picture or reading a link you always end up at to top of the page. Now I have to page down a 1/2 dozen time to find my place. This get old pretty fast. Hope you figure it out when I come back.
Pingback: Mortar & Pestle | Turned.Out.Right Woodturning Web-shop
I have an oxy-mapp setup does that make any difference?
I believe that an oxy-mapp should work ok.
You just have to get the steel red hot.
You can tell if the steel is hot enough using a magnet.
After the steel turns red hot hold using a magnet to see if the red area is magnetic. The curi temperature of steel (when it is no longer magnetic) is close enough to the temperature you want. Heat the steel per the manuf specs. For W1 its 6min per 1/4 inch of steel. You can find these specs on MCMasterCarr
Pingback: Tools for solid surface | Turned.Out.Right Woodturning Web-shop