
Advent wreath
Remote posting from the shop! Started work on first of christmas gifts…. an Advent Wreath.
Remote posting from the shop! Started work on first of christmas gifts…. an Advent Wreath.
Just to prove that you can turn just about anything, get a look at these handbags ….. very nice!. Denise DeRose: Turner of Handbags Ratatouille release The Boxer the movie The Hunted full

I just returned from an extended trip that included a few days in Paris with my wife. I saw the largest burl ever, right in down downtown Paris: Then when got home I got a call from my tree trimming buddy with some Plum burls.
Finally the first post on the new site :). I feel like I am back in the grove. I promised to catch you up on my projects, the first of which is the chip carved bowl. I have been learning and practicing my chip carving with intention of bringing the skill into my turning as …
Hope you like the new format. We made a lot of exciting changes: New theme that is easier to navigate Drop down selections for every menu item Notice box at the upper right of the site. Old posts, topics and archives are hidden behind tabs to the right Improved image gallery’s for turnings and tools …

Flash Point It may seem like the webshop is inactive these days but that is far from the case. We have been working on a brand new website and we are now ready to move everything to the new location. During that time the comments will be disabled and I will not be taking book …

More complex carving completed after a pattern was made in SketchUp. Pattern and basswood plate from Wayne Burton, see the January issue of Woodcarving. I’m about ready to try this on a turning. RoboCop 2 trailer She’s the Man movie Kung fu trailer Waterworld movie download

Waterworld movie full It might seem like I am deserting my turning….. not a chance. I am honing a new skill, chip carving. Still have some sanding and polishing to do on this Mothers day gift? My plan is to add this treatment to bowls and vessels as an embellishment. Stay tuned because the humidor, …
Facebook, what an amazing network. While perusing Mike Mahoney’s Facebook I found one of his friends to be interesting, since he was also turning on a Stubby. I Invited Terry Scott to my friend list. After a Facebook friend invite we got to networking and I got linked to the clubs website and newsletter. Some …
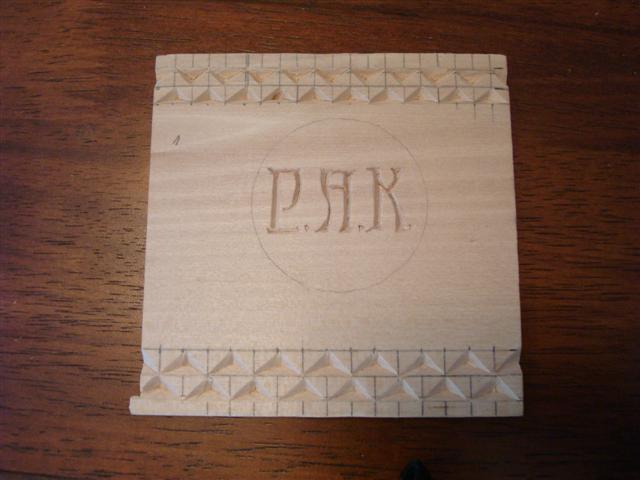
I have been practicing my chip carving lately. My plan is to use this skill to enhance turnings. I like this craft because it is reasonably simple in concept and it only requires 2 knives as tools, also it can be performed almost anywhere you can sit down. Well maybe not a plane……. I’m guessing …